My Posts By Subject

1. Selecting the Right Van for my Adventure Van Conversion
The first step in the van build process is identifying the purpose of the Van. There is a lot of crossover of course, and most builds will work for most purposes, but to really tailor the design to the build you need to clearly understand your intent and needs.

2. Designing My Conversion Van Floor Plan
A van's floorplan is the foundation upon which all elements of livability rest. Its the heart of any great van conversion and dictates how you move, interact, and live within your mobile space. A poorly designed layout can lead to unnecessary frustration and discomfort, while a thoughtful floorplan can enhance your van life experience.

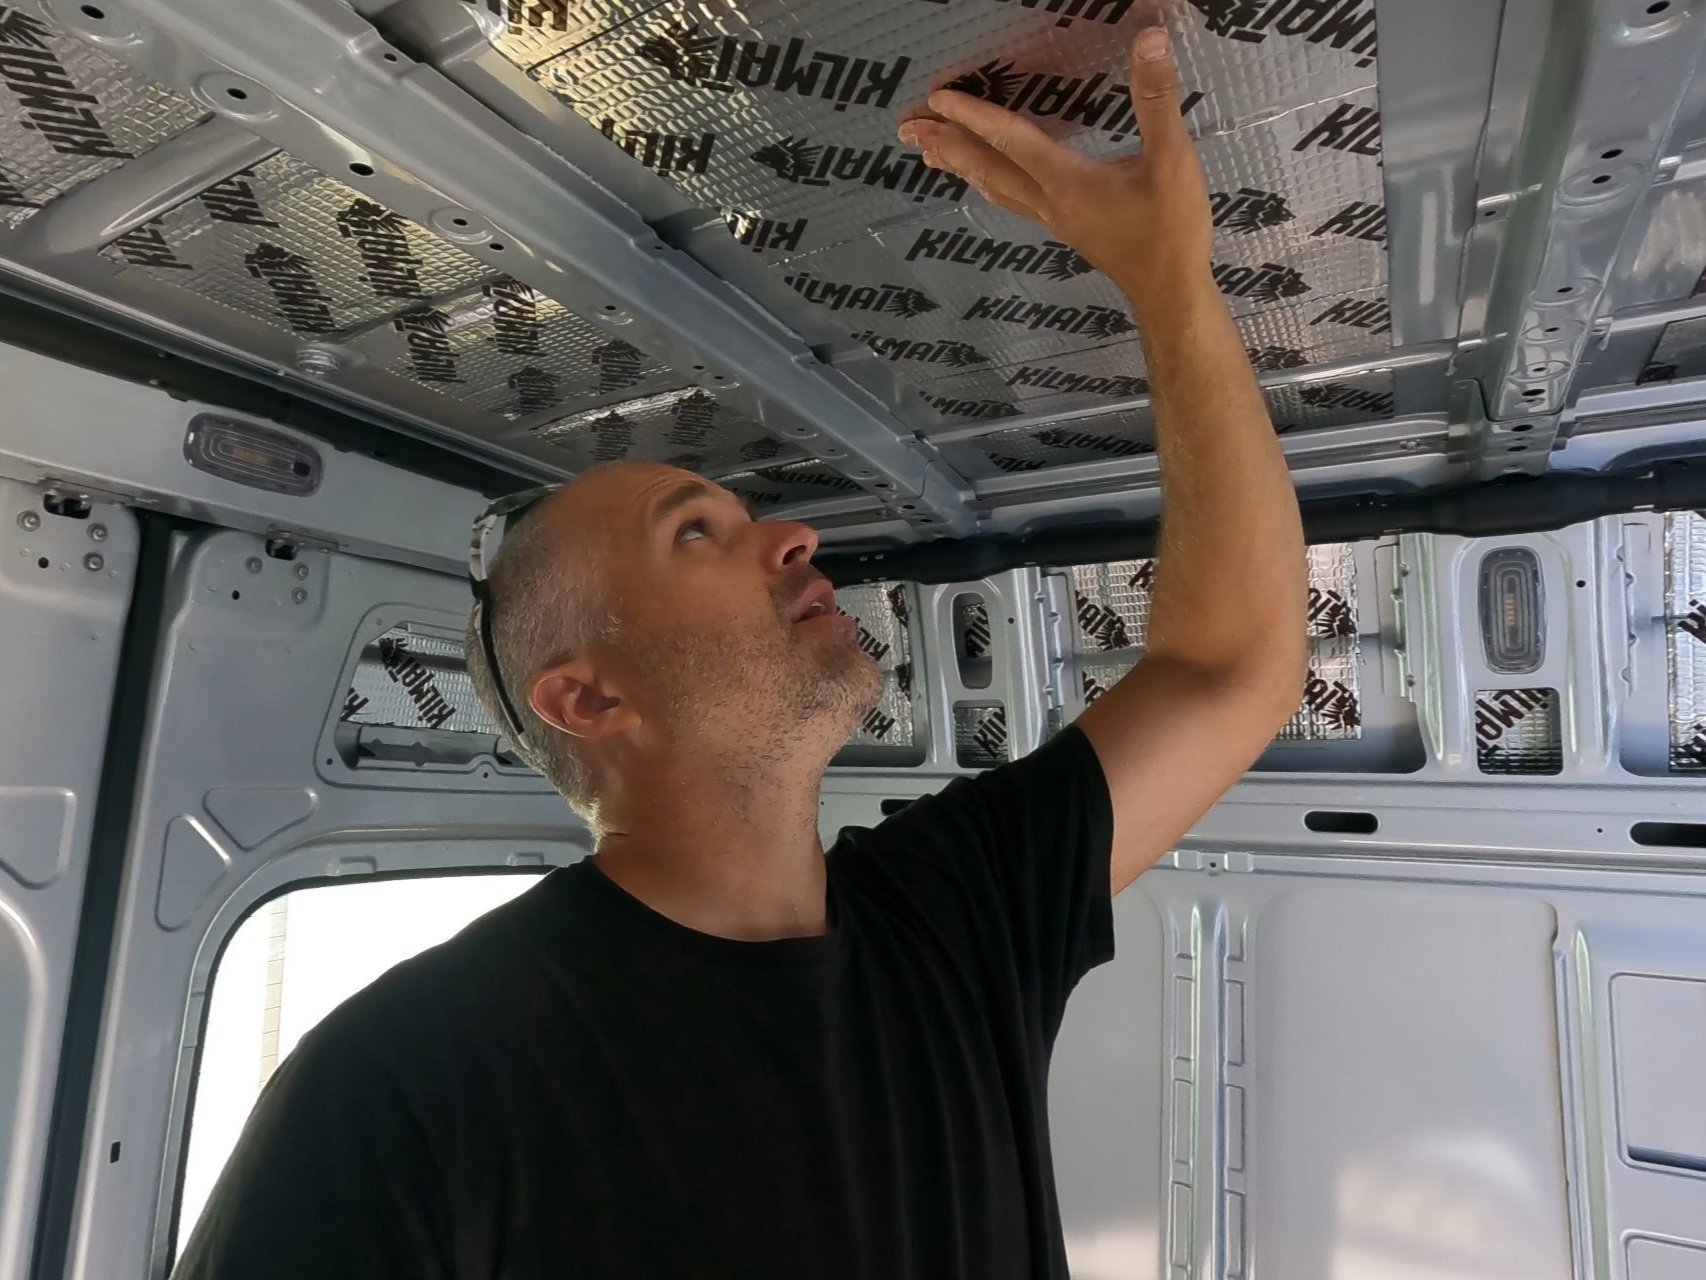
3. Sound Proofing My Van Build
Camper vans can be an amazing experience, offering freedom, flexibility, and adventure on the open road. However, noise can be an issue. This is mostly noticeable with road vibrations, but engine noise, rain, wind, and even nearby traffic or people can be annoyances when out in the van.

4. Installing Windows in my Van Build | C.R. Laurence
Installing windows in a van offers natural light and ventilation benefits which can be a crucial aspect of a van project. Proper airflow helps regulate temperature, reduce moisture build-up, and prevent musty odors, making your van a comfortable place to live.

5. Roof Rack Installation
In the world of DIY adventurers and road trip enthusiasts, a Sprinter Van is more than just a vehicle. It's a gateway to exploration and freedom. One way to enhance our van's functionality is by installing a roof rack. A roof rack can transform a Sprinter van into a versatile companion for all of our epic travels.

6. Side Mount Ladder Install
Installing a ladder on your adventure van can significantly enhance its functionality and accessibility, making it easier to reach rooftop gear or perform maintenance tasks. Whether you're looking to clean solar panels, access a roof rack, or simply enjoy the view from above, a well-installed ladder is an essential addition to your van conversion.

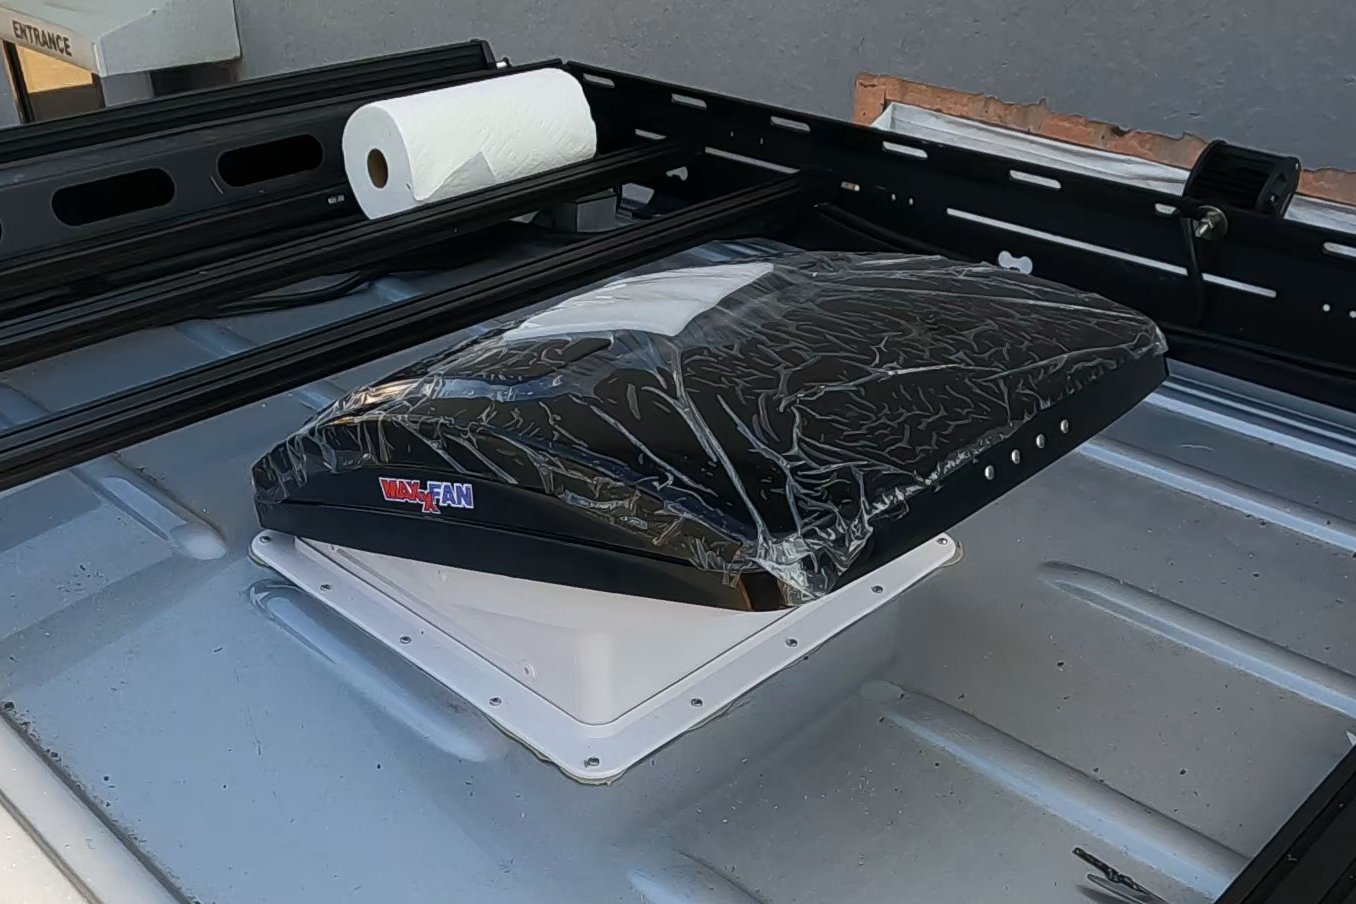
7. Maxx Air Fan Van Installation
Proper ventilation is crucial, not only for maintaining a pleasant temperature but also for preventing moisture buildup and ensuring good air quality. This is important in normal conditions of course, but as we build and add van life RV features such as a kitchen or a shower and start cooking and running water inside the van, this gets a lot trickier. That’s where the Maxx Air Fan comes in!

8. Convertible Passenger Seat Bed
When embarking on the adventure of converting a van into a cozy and functional campervan, one of the most crucial elements to consider is the installation of a convertible seat and bed lounge. This multifunctional solution not only maximizes the limited space within the van but also ensures comfort and versatility for both day and night use.

9. Raised Floor Installation & Fabrication
A raised floor in a van build can improve insulation, provide a more comfortable living area, and create additional storage underneath. This approach is especially beneficial for DIY nomads seeking to maximize every inch of their mobile home.

10. Wheel Well Boxouts for Electrical & Plumbing
Building wheel well boxes is a crucial step in any van conversion project, offering both practical storage solutions and a foundation for essential systems. These custom-built structures can create a multi-functional area that supports a bed frame, conceals wiring and plumbing, and offers convenient storage for frequently used items.

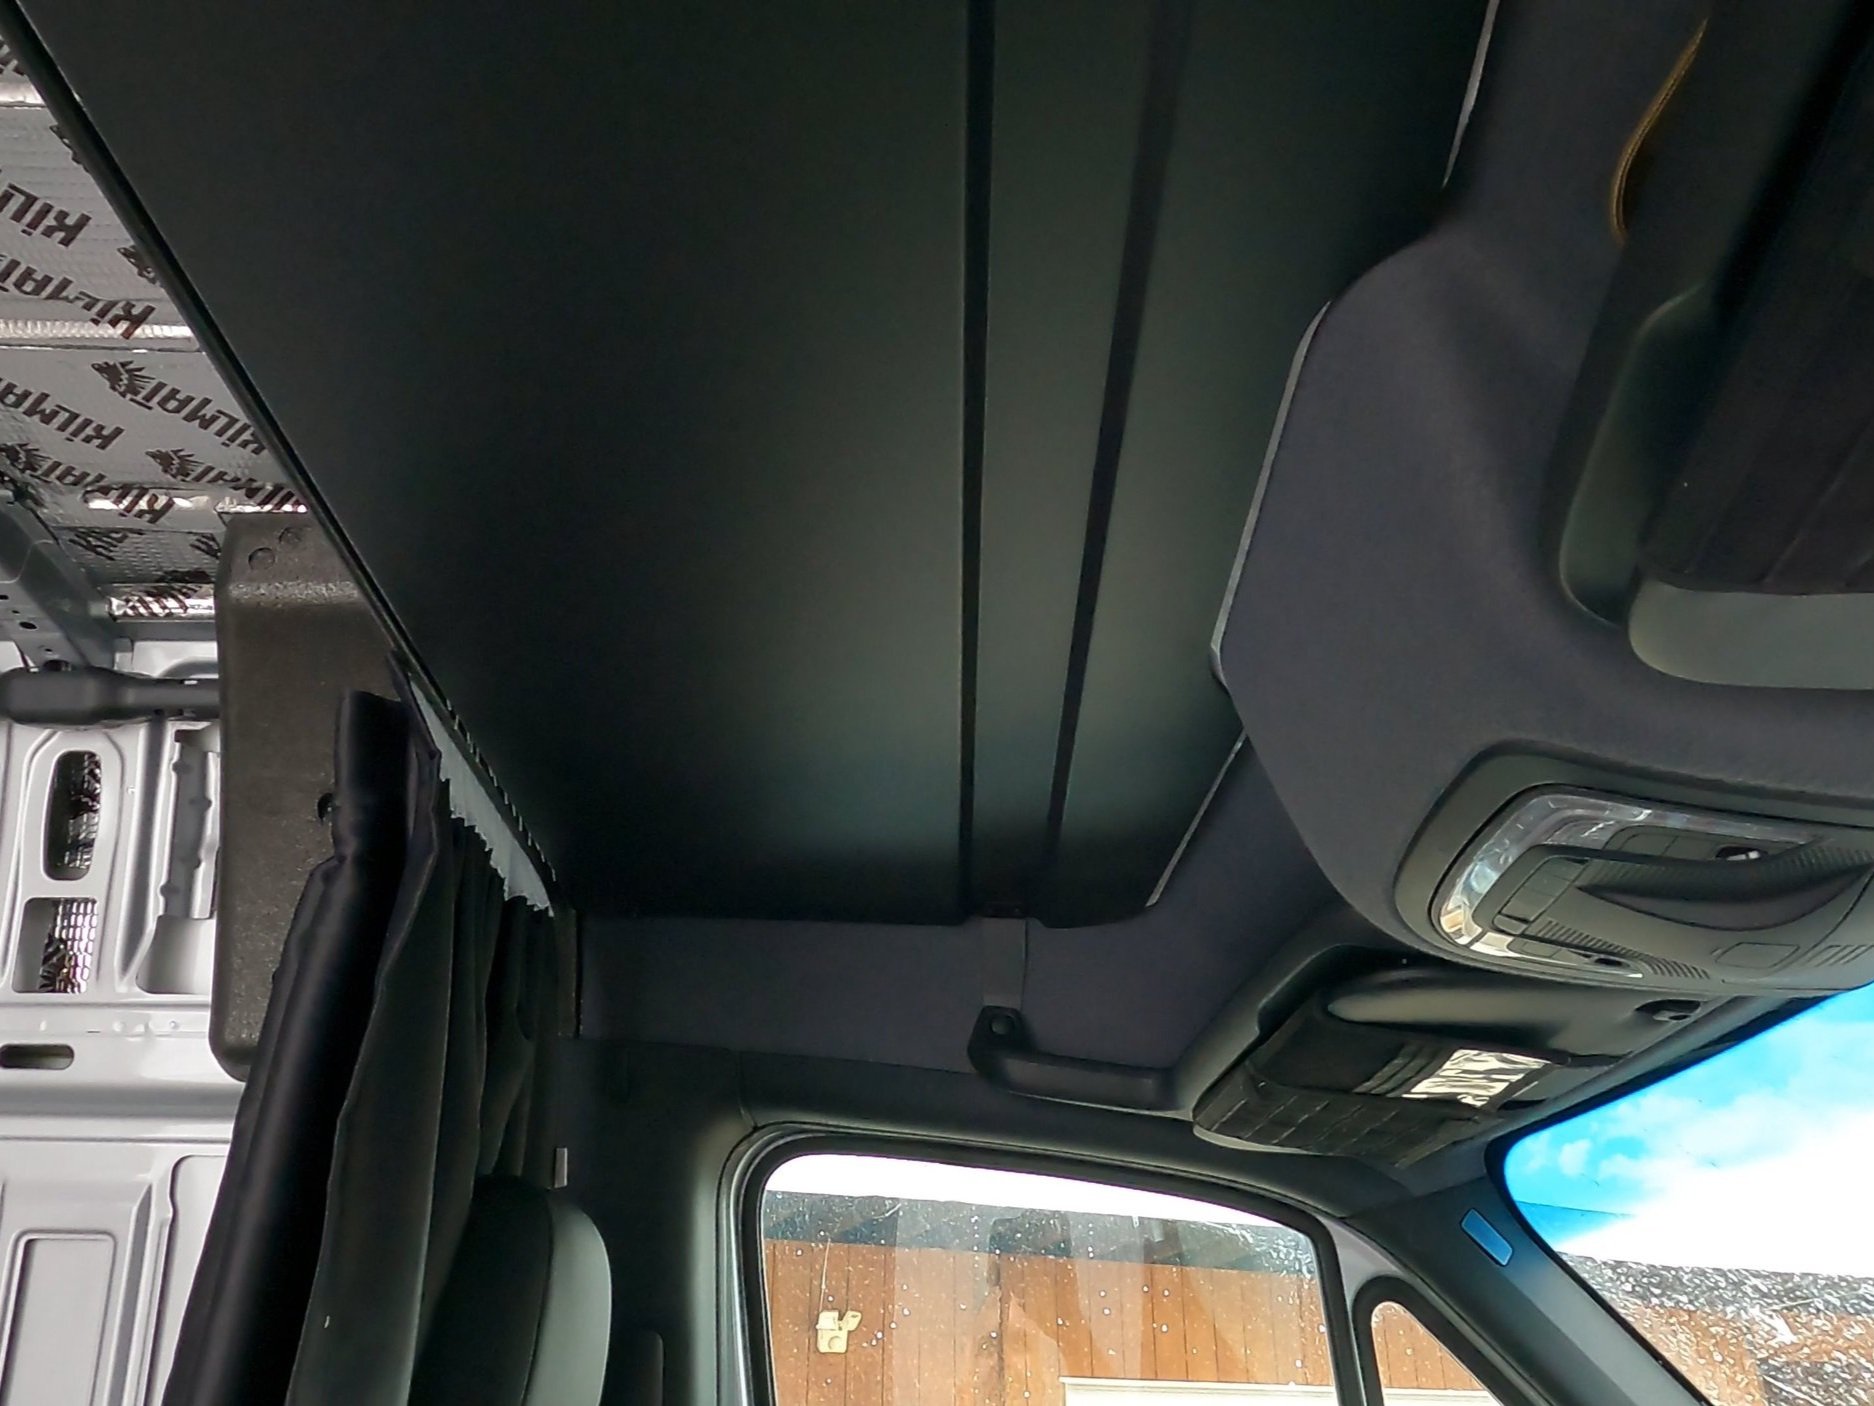
11. Headliner Storage Shelf
The headliner shelf is a simple solution for turning the space above the cab into a useful storage cubby. It is an easy install that doesn’t require any modification or fabrication making it very popular among Sprinter van owners and builders.

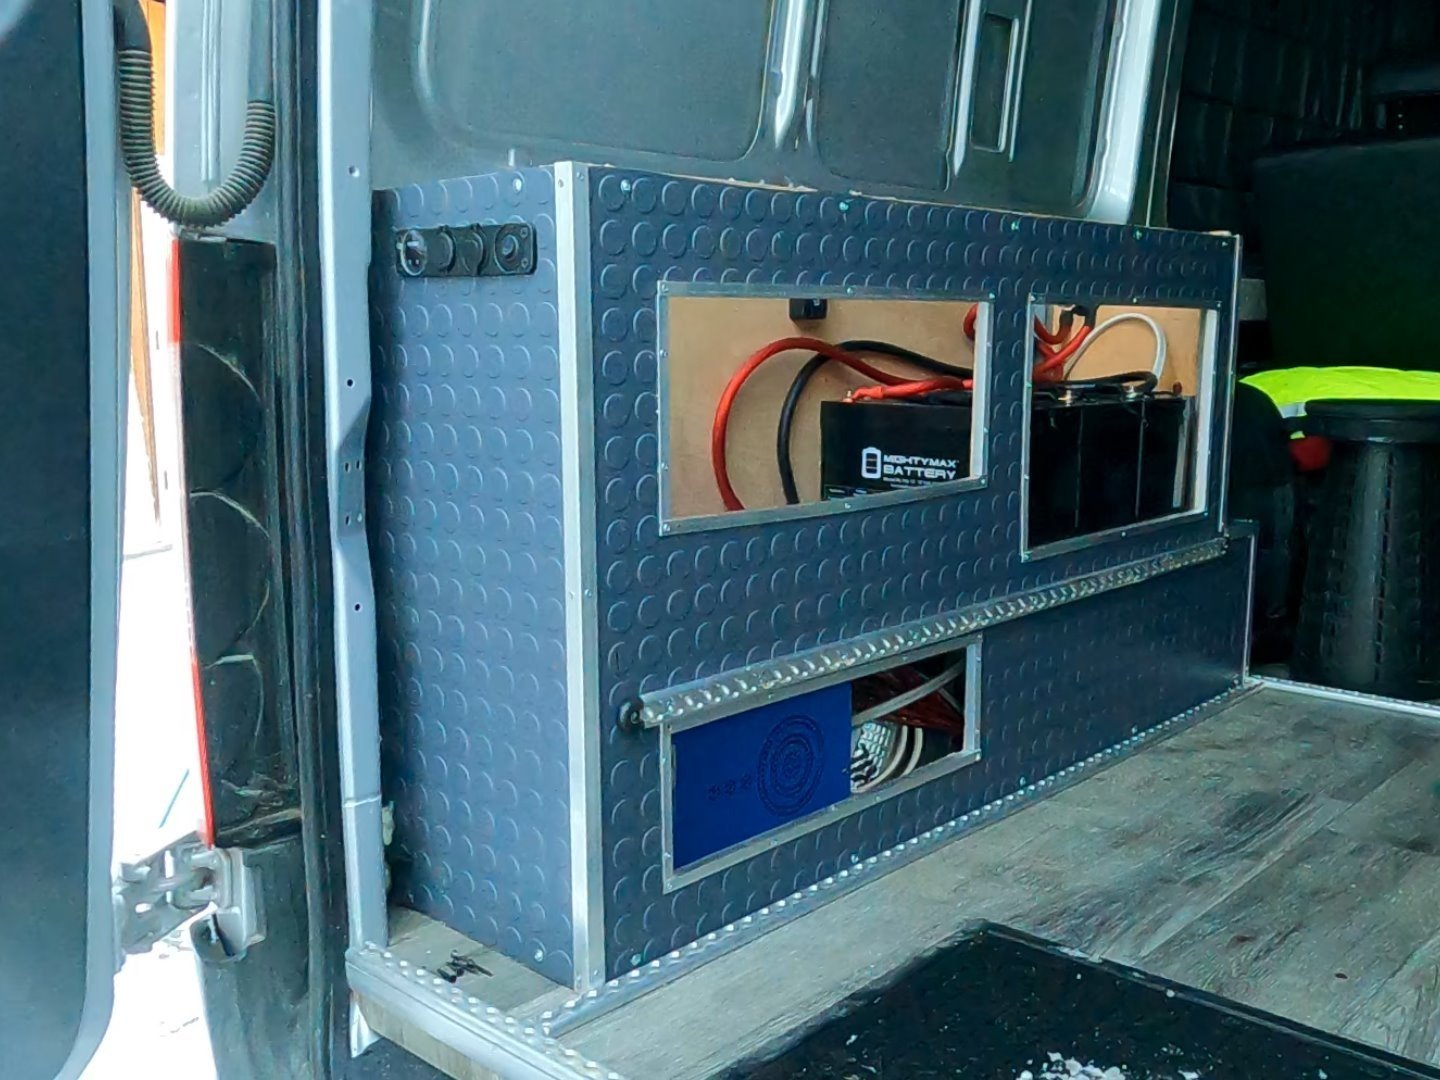
12. 12v DC Electrical System | Design & Installation
The central point of any van conversion is the electrical system, which powers everything from your morning coffee to your evening podcast. This is the heart and soul of the van build. Electrical systems can typically be broken up into two systems; the 12v DC system and the 120v AC system. In this step of our build, we will go through the planning and installation of the 12v DC system.

